The LSG series diameter measuring instruments use a laser scanning system to achieve more precise sampling of the target's outer contour. With a compact and lightweight design, it meets various application scenarios and requirements. The laser scanning technology, combined with high-performance DSP for high-speed data processing, enables rapid and accurate measurements while ensuring stable data handling.
It is mainly used for the outer diameter measurement of wire and cable, electronic communication cables, fiber optic cables, enamelled wires, medical wires, and various types of tubing.
| High collimation light source |
| Edge detection optimization |
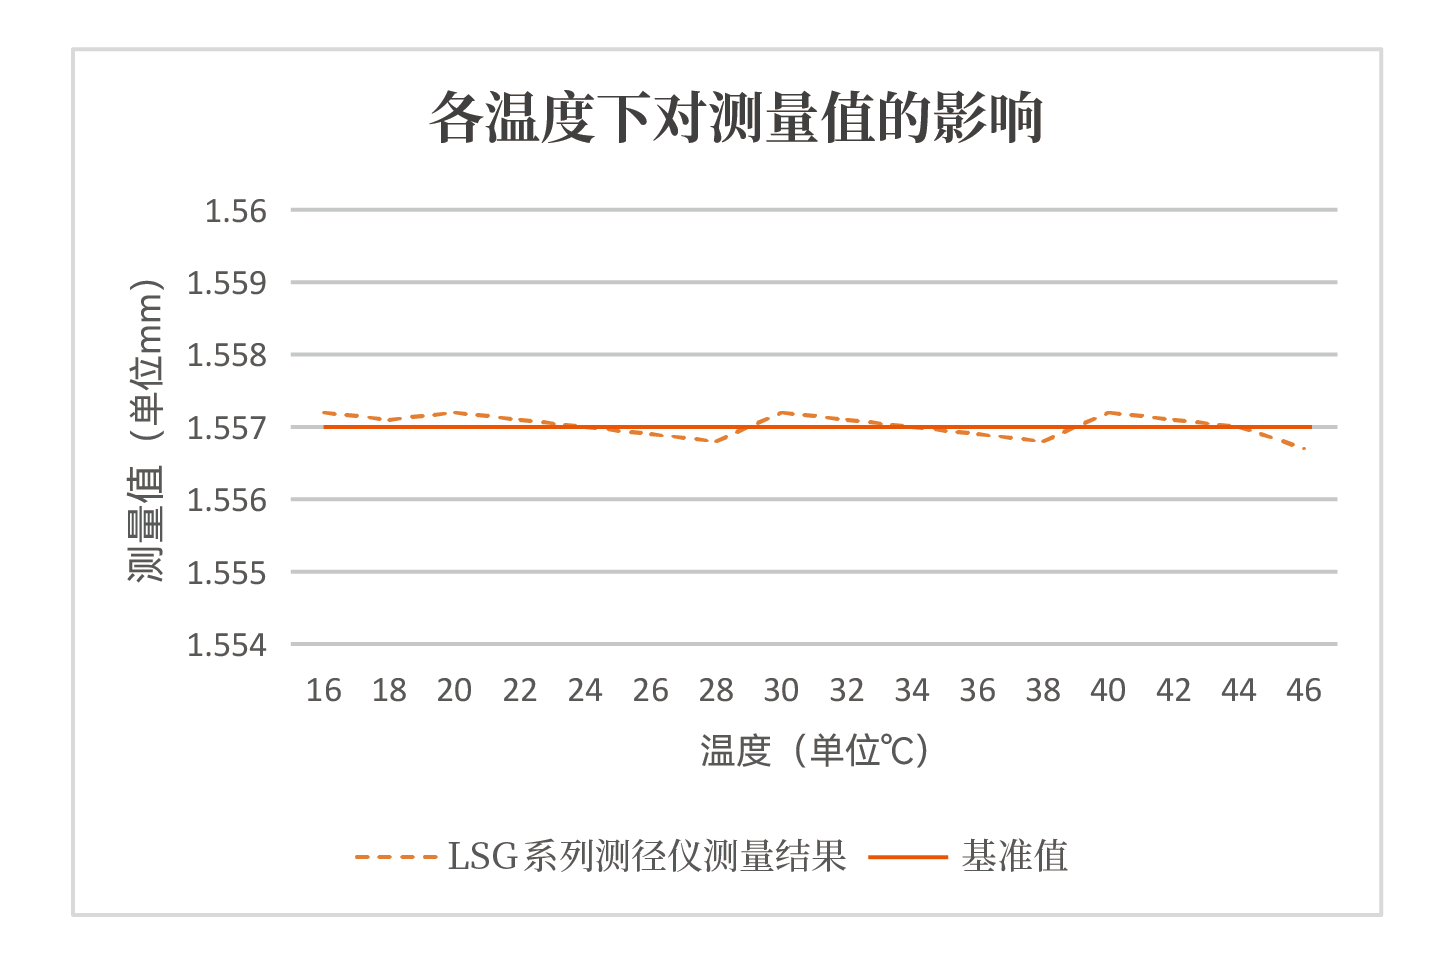
| Temperature-insensitive measurement |
|
|
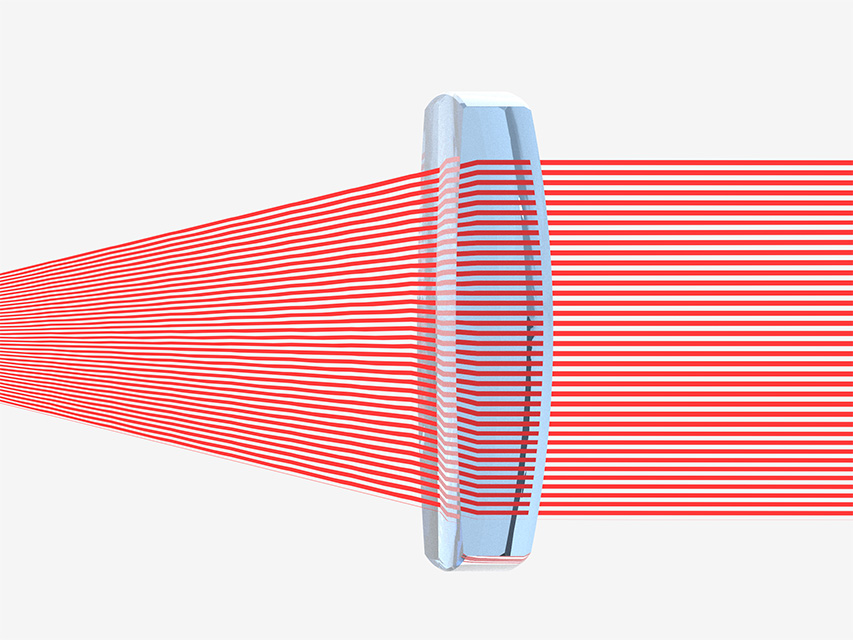
The high-precision, parallel, collimated, and equidistant optical imaging system accurately identifies the target edges of the measured object, ensuring linear measurement accuracy and precision at different positions within the testing area. |
|
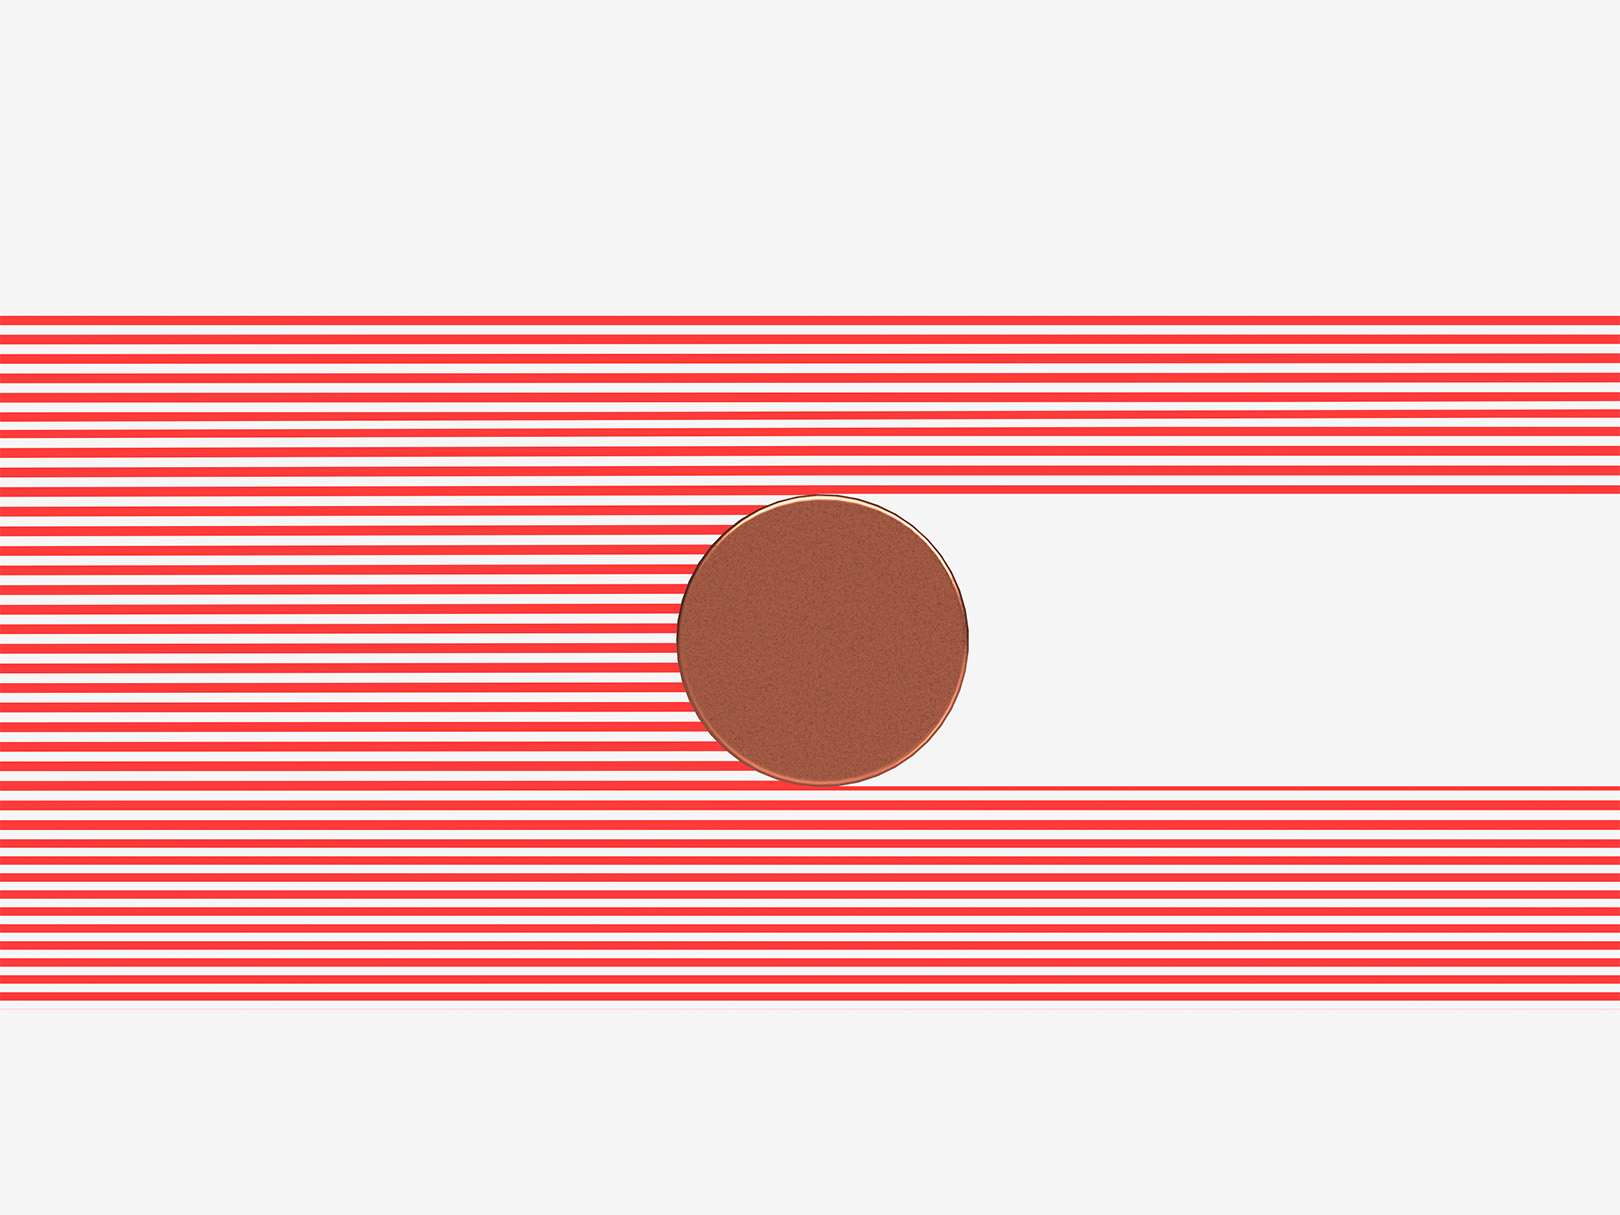
Ensures precise identification of the target object's edges. |
|
The specially designed optical imaging sampling module ensures long-term accuracy and reliability of measurement data. |
|
| 
|
| 
|
| 
|
|
|
|
|
|
|
|
|
|
|
|
|
|
|
|
| DSP digital signal processing | | Online communication | | Long-term stable operation |
|
|
High-speed DSP technology processes large volumes of data in a short time, ensuring data integrity and accuracy. |
|
Standard communication protocol, secure, stable, and reliable. |
|
Customized optical transmission components and industrial-grade design ensure long-term operational stability. |
|
| 
|
| 
|
| 
|
|
|
|
|
|
|
|
|
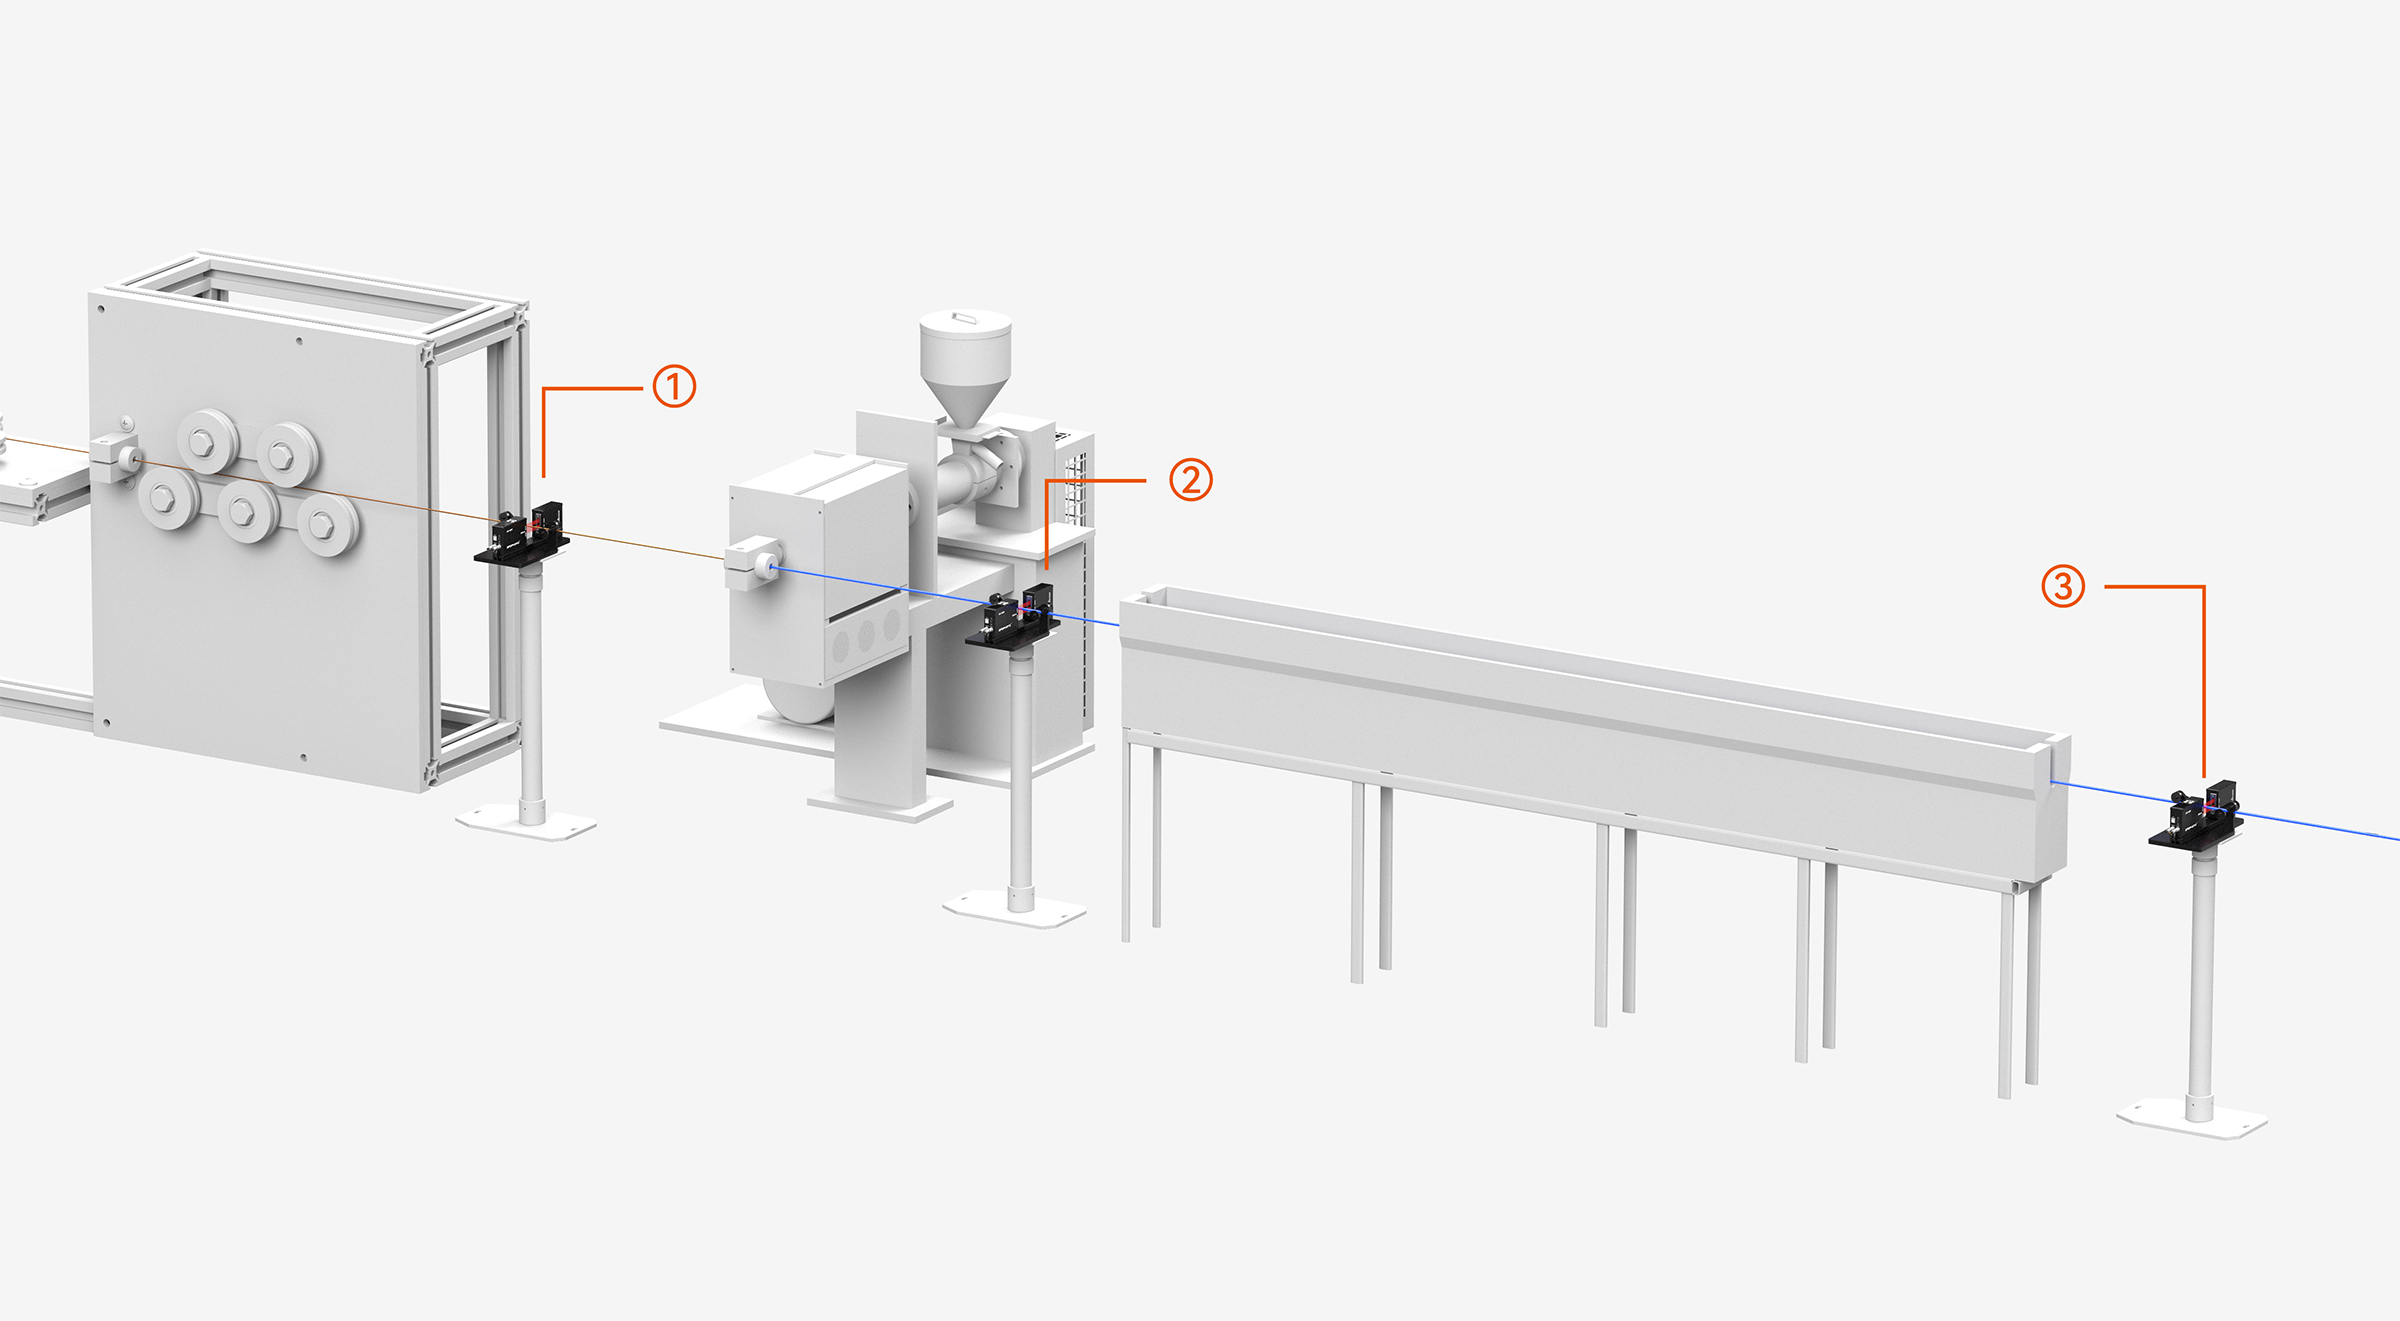
Extruder Application Case
①Before the Extruder Outlet: Measure the diameter of the wire core to ensure it meets the standard specifications before entering the extruder.
②Extruder Outlet: After the wire is extruded, the diameter measuring instrument immediately measures the outer diameter of the cable to ensure it meets the specifications. This installation location allows for timely detection and correction of any diameter deviations during the extrusion process, ensuring product quality.
③After the Cooling Tank: After extrusion, the cable typically passes through a cooling tank before measurement. This ensures that the diameter measured by the instrument corresponds to the final size after cooling shrinkage, allowing for more accurate control of product quality during production.

 Compact, durable, and easy to maintain.
 Compact body, high measurement accuracy, wide measurement range.
 Newly optimized internal structure, more durable and sturdy. Higher precision and stronger reliability.
 Compact size, dual-axis scanning
 Dual-axis scanning for more precise and comprehensive data collection
 Dual-axis scanning for more precise and comprehensive data collection


